
I have seen too many buyers lose money because their contracts lacked teeth. It is painful to watch quality disputes drag on for months simply because the initial agreement was too vague to enforce.
Executable inspection criteria are specific, measurable clauses in your contract that define exact standards, testing methods, and rejection limits. By referencing specific standards like GB/T9139.3 and defining clear penalty mechanisms, you ensure suppliers deliver consistent quality or face immediate consequences.
Let’s look at the exact clauses I recommend adding to your purchase agreements to secure your supply chain 1 and protect your bottom line.
What sampling plans should I reference (AQL)?
You cannot inspect every single track shoe in a container without delaying shipment. Relying on "random checks" without a plan is a recipe for disaster.
You should reference ISO 2859-1 (or its Chinese equivalent GB/T2828.1) to establish a statistically valid inspection scope. By setting an Acceptable Quality Level (AQL) of 1.0 for critical dimensions and 2.5 for cosmetic traits, you create a mathematical guarantee of batch quality without needing 100% inspection.

When we manufacture thousands of track rollers or chain links at Dingtai, we know that checking 100% of the pieces is not always practical for the buyer due to time and cost constraints. However, simply telling a supplier to "check a few" is dangerous. It relies on the mood of the inspector that day. To make your contract executable, you must remove the human element and rely on mathematics. This is where the Acceptable Quality Level 2 (AQL) comes in.
In your contract, you should explicitly state: "Sampling for acceptance shall be performed in accordance with ISO 2859-1 3 (or GB/T2828.1), General Inspection Level II." This standard tells us exactly how many pieces to pick based on the total order size. For example, if you order 500 top rollers, the standard dictates a specific sample size (e.g., 50 pieces). If we find more than a certain number of defects within that sample, the entire lot is rejected. This puts the pressure back on us, the manufacturer, to ensure the whole batch is good, not just the top layer of the pallet.
You need to break down your defects into categories. A Critical Defect is something unsafe, like a crack in a welding joint. A Major Defect affects the life of the product, like a bore size that is too loose. A Minor Defect is usually cosmetic, like a scratch on the paint. You cannot treat them all the same.
Recommended AQL Settings for Undercarriage Parts
| Defect Category | Definition | AQL Limit | Example Issue |
|---|---|---|---|
| Critical | Safety hazard or total failure | 0 | Cracked casting, wrong material grade |
| Major | Reduces service life or function | 1.0 | Leaking oil seal, wrong bolt hole size |
| Minor | Cosmetic only | 2.5 | Paint drips, unclear stamping |
By including a table like this in your purchase order, you are drawing a line in the sand. You are telling me, "Grace, if there is even one cracked casting in the sample, send the whole container back to the furnace." This clarity prevents arguments later. If your current supplier resists this standard, you have to ask yourself why they are afraid of a statistical check. At Dingtai, we use these standards internally because we know that consistent quality is the only way to keep clients like David Miller coming back.
How do I document dimensional tolerances clearly?
"Industry standard" is the most dangerous phrase in a contract. It allows suppliers to hide behind vague averages rather than meeting your specific needs.
Document dimensional tolerances by citing specific standards like GB/T9139.3-2021 and listing critical parameters explicitly. You must define exact limits, such as track tension ±5mm or roller axial gap ≤1.2mm, to prevent "close enough" from becoming "good enough."

I often see contracts that say "Goods must be of good quality." This means nothing legally. In China, we have specific National Standards (GB) and Machinery Industry Standards (JB) that cover everything. For excavator undercarriage parts, you should reference GB/T 9139.3-2021 4 (for hydraulic excavators) or JB/T 6061-2007 5 (for NDT testing). These documents are thick and detailed, but you don’t need to quote the whole book. You just need to reference them as the baseline.
However, for the parts that truly matter to your customers—the ones that wear out or break—you need to go deeper. You need to pull the specific numbers out of the standard and put them right on the first page of your Quality Agreement. For example, a track chain 6 that is too tight will snap; one that is too loose will jump off the sprocket.
Critical Metrics You Must Quantify
You should list these specific parameters in your "Technical Requirements" annex:
- Track Tension: Specify a tolerance of ±5mm. This ensures the assembly fits the frame without needing dangerous adjustments in the field.
- Roller Axial Clearance: This determines how much the roller wobbles. Demand ≤1.2mm. Any more than that, and the internal seals will fail, leading to oil leaks within weeks.
- Drive Sprocket Wear Limit: If you are buying replacement rims, specify that tooth thickness wear must be ≤15% of the nominal value.
- Idler Runout: Ensure the idler spins true. A wobble here destroys the track links.
How to Bind These to the Contract
Do not just write these numbers in an email. Attach your technical drawing or a "Data Sheet" to the contract as "Annex A." Then, add a clause: "Product acceptance is subject to the dimensions and tolerances listed in Annex A. Any deviation outside these limits is considered a non-conformity."
If you have custom requirements—perhaps you need a thicker hardening layer for a mining application—this is where you define it. You might say, "Surface hardness 7 must be HRC 52-56, with a depth of 5mm-8mm." Without these numbers, a supplier might give you HRC 50 and say it is "industry standard." With the numbers, you win the argument before it starts. As a manufacturer, I actually prefer when clients give me these numbers. It tells me exactly what I need to do to get paid, and it removes the guesswork from our production floor.
Should I include photos and go/no-go gauges?
I often see reports filled with useless photos that hide defects. You need objective evidence that leaves no room for interpretation or argument.
Yes, you must mandate the use of go/no-go gauges for critical threads and bores to ensure objective pass/fail results. Furthermore, require high-resolution photos of specific details, like measurement readings and packaging, to serve as undeniable proof of condition before shipment.
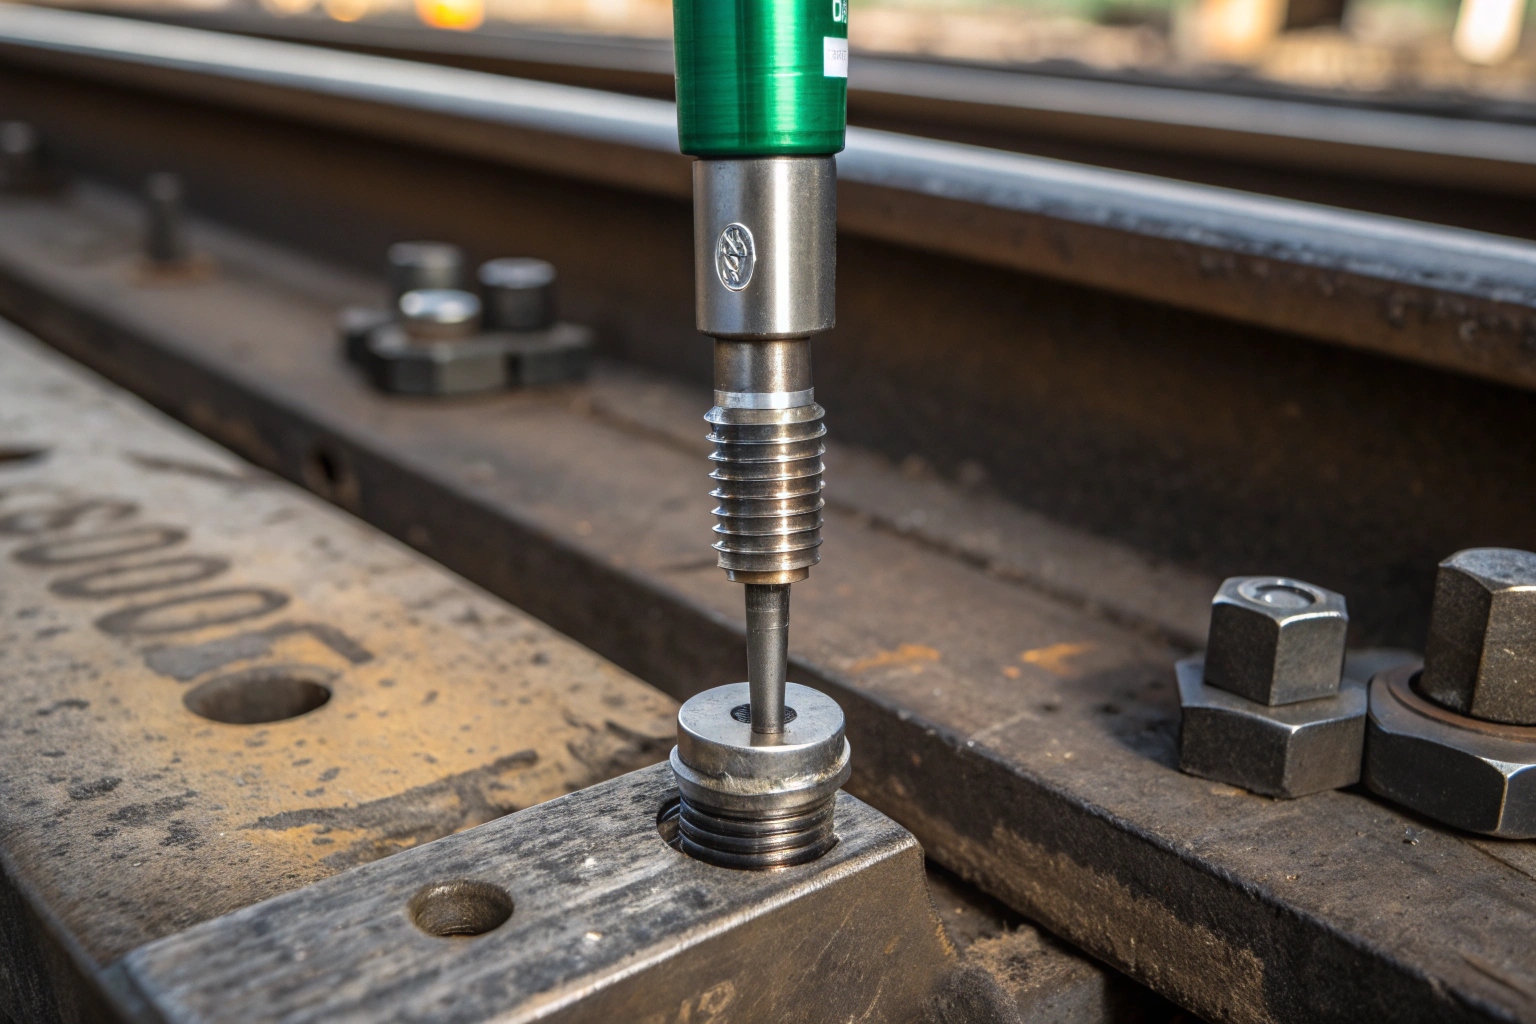
Visual inspection is subjective. What looks "smooth" to a factory worker might look "rough" to you. To eliminate this subjectivity, you need tools that give a binary result: Pass or Fail. This is why I strongly recommend mandating the use of Go/No-Go gauges 8, especially for threaded holes and mounting bores.
A Go/No-Go gauge is a simple, calibrated tool. If the "Go" side fits and the "No-Go" side doesn’t, the part is perfect. There is no opinion involved. In your contract, you can require that 100% of mounting holes be tested with a thread gauge, and that the supplier must video this process for a random sample of the lot. This is crucial for items like track shoes, where a stripped bolt hole means the shoe falls off during operation.
The "Photo Evidence" Protocol
Do not just ask for "photos." If you do, you will get blurry pictures of a box. You need to write a "Photo Protocol" into your contract. This protocol should list exactly what needs to be photographed for every shipment. This acts as a digital witness to the quality of the goods before they enter the container.
Required Photo Checklist:
- Macro Shots of Critical Areas: Close-up photos of the welding seams on the chain guard. I recommend using Magnetic Particle Inspection 9 (MPI) for welds and asking for a photo of the test result under UV light. This proves there are no invisible cracks.
- Measurement Verification: Don’t just show the part; show the caliper on the part, with the digital reading clearly visible. If the tolerance is ±5mm, I want to see a photo showing the reading is within that range.
- Packaging Integrity: Photos of the pallets being banded and wrapped. We often see damage happen because pallets tip over. Seeing the banding before shipment proves if the damage was the factory’s fault or the shipping line’s fault.
By making these photos a condition of the "Balance Payment," you ensure that the factory takes them seriously. I tell my team: "No photos, no shipment." It protects us, too. If a customer claims a part arrived rusty, I can pull up the HD photo from the loading day to show it left our factory in pristine condition. This level of transparency builds trust faster than any promise I can make.
What dispute resolution steps reduce delays?
Finding a defect is stressful, but the real nightmare begins when you try to get a refund. Arguments over who is right can freeze your cash flow.
Reduce delays by setting a strict notification window, such as 3 days for visual defects and 15 days for performance issues. Clearly define remedies like "refund or replace within 7 days" in the contract to bypass lengthy negotiations and get your equipment running again.

In the event that something goes wrong—and in manufacturing, sometimes it does—you do not want to be stuck in a never-ending email loop. The goal of a dispute resolution clause is speed. You need a replacement part on your shelf, or money back in your bank, as fast as possible.
The 3-7-15 Rule
I recommend a structured timeline that we call the "3-7-15 Rule." You should write this directly into your Claims Clause:
- 3 Days for Visual Objection: You (the buyer) must notify the seller within 3 working days of the container arriving at your warehouse if there are visible defects (rust, wrong paint color, broken crates). You must provide the "Arrival Report" and photos. If you wait 2 months to complain about rust, the factory will rightly argue that it happened in your storage.
- 7 Days for Remedy: Once a defect is confirmed, the seller has 7 working days to propose a solution. This is usually sending a replacement shipment or issuing a credit note. This deadline stops the seller from stalling.
- 15 Days for Performance Testing: For internal issues that you can’t see (like a leaking seal or a soft steel grade), you have 15 working days (or sometimes up to 30) to perform installation tests or lab analysis.
Defining the Solution Before the Problem Happens
The biggest delay in disputes is arguing over what the solution should be. Should they repair it? Replace it? Refund it? Decide this now.
Standard Remedy Table:
| Defect Severity | Agreed Remedy | Who Pays Freight? |
|---|---|---|
| Minor (Reworkable) | Seller pays local repair cost (e.g., repainting) | N/A |
| Major (Unusable) | Seller provides free replacement | Seller pays Air/Sea freight |
| Critical (Safety) | 100% Refund + Return of goods | Seller pays all logistics |
Third-Party Arbitration
Finally, what if we disagree? I say the steel is hard enough; you say it is too soft. To avoid court, name a referee. In your contract, specify a third-party testing agency (like SGS 10 or a specific local university lab).
Clause: "In the event of a dispute regarding material quality, samples will be sent to [Insert Lab Name]. The result of this test is final and binding. The losing party shall pay all testing and shipping costs."
This clause is magic. It stops frivolous arguments immediately. If I know my product is bad, I will not risk paying for a lab test I am going to lose. I will just replace the parts. This structure saves everyone time and keeps the relationship professional.
Conclusion
A vague contract is a gamble, but a specific one is a guarantee. By quantifying your expectations—using AQL sampling, setting ±5mm tolerances, and defining a 7-day remedy period—you transform your purchase agreement from a piece of paper into a powerful tool for quality control. Let’s make your next order the smoothest one yet.
Footnotes
1. Strategies for managing production flow and logistics. ↩︎
2. Statistical limit for defects allowed in a batch. ↩︎
3. International standard for sampling procedures by attributes. ↩︎
4. Technical specifications for hydraulic excavator reliability. ↩︎
5. Standard for non-destructive testing of welded joints. ↩︎
6. Mechanics of continuous track systems in heavy machinery. ↩︎
7. Material property resisting indentation and wear. ↩︎
8. Inspection tools for verifying dimensional limits. ↩︎
9. Non-destructive testing to detect surface discontinuities. ↩︎
10. Leading inspection, verification, testing, and certification company. ↩︎