In the business of buying undercarriage parts for excavators & bulldozer 1, nothing matters more than knowing that what you’ve purchased meets the required specifications. I often worry about whether these parts will come with all necessary documentation such as inspection reports, hardness reports, and material certificates.
Yes, absolutely. For all premium-grade orders, I ensure a complete Quality Assurance (QA) documentation package is included with your shipment. This package verifies full traceability and confirms that your components align with every technical specification required.
When ordering undercarriage parts for excavators & bulldozer from China 2, suppliers typically ship dimensional inspection reports, hardness reports, and MTCs with your parts. These documents guarantee that what you’re receiving meets your specifications.
Can I receive digital copies in advance for my incoming QC for my undercarriage parts for excavators & bulldozer?
A prompt delivery of parts is always crucial for operations, but receiving digital copies of important reports in advance plays a pivotal role in efficient quality control processes 3. I need these beforehand to make sure everything checks out once the parts arrive.
Yes, indeed. You’ll be able to request digital copies of the QA documentation package before your parts even leave our facility. Having these electronic files in advance of receiving your shipment aids your quality assurance team in preparing effectively for incoming inspection.
Ensuring smooth and accurate quality control processes involves precise communication between suppliers and buyers. Hence, digital copies of documents can be provided, allowing significant lead time for preparing internal inspections. This can include dimensional reports, hardness test results 4, and material certificates. With digital access, your incoming quality control team gets proactive, having all necessary data at the fingertips to streamline checks upon delivery.
Receiving digital documentation reduces risks and errors, aligning production with quality goals. Communication channels remain open and even strengthen supplier-client relationships, facilitating faster response times. This early engagement can drastically cut inspection cycle times, prevent resource waste, and allow efficient integration with your existing digital systems.
Will you include gauge IDs and calibration dates in my reports for my undercarriage parts for excavators & bulldozer?
Verifying the accuracy and reliability of tools used in the inspection process is just as critical as the inspection itself. Gauge IDs and calibration data play a major role in my decision-making process.
Yes, rest assured that the dimensional inspection reports 5 for your undercarriage parts for excavators & bulldozer will include gauge IDs and calibration dates. This is crucial to maintain impeccable quality control and ensure the highest accuracy for your parts.
Calibration records are part and parcel of an effective quality management strategy, covering tools and instruments that ensure your parts meet specifications. When gauge IDs and calibration dates appear, it upholds the integrity of inspection processes, maintaining accuracy and credibility of data collected.
Why Gauge IDs Matter
Tracking gauge IDs 6 formalizes the process and helps to certify measurements undertaken properly. With the inclusion of these IDs, you confirm the use of calibrated tools which means that measurements reported in dimensional inspection attest to precision.
| Gauge ID | Calibration Date | Calibration Status | Comments |
|---|---|---|---|
| GA123 | 2023-01-15 | Valid | Passed all checks |
| GA456 | 2023-02-20 | Due soon | Schedule soon |
| GA789 | 2023-05-10 | Valid | Recently calibrated |
Having these details within your inspection reports gives you confidence in the reliability of each measurement conducted and aligns with best practices of continuous quality improvement.
Can you tailor report templates to my PPAP checklist for my undercarriage parts for excavators & bulldozer?
In quality management, I appreciate consistency and having custom reports 7 that match my PPAP checklist is essential to streamline audits and production readiness processes.
Absolutely, customized report templates can be developed based on your PPAP checklist 8. By aligning documentation with your requirements, we ensure seamless compliance for your processes.
Tailoring report templates is a guarantee of maintaining standardized quality while addressing specific demands of different projects or clients. It helps measure production readiness and maintain product flow through ensuring each documentation part calls for specific standards.
Importance of PPAP
The Production Part Approval Process 9, better known as PPAP, necessitates an organized approach that solidifies manufacturing outcomes. Custom-tailored reports support this, delivering accountable tracking of development throughout the supply chain.
| PPAP Element | Report Feature | Description | Notes |
|---|---|---|---|
| Design Documentation | CAD Drawing | Confirms design | Updated per iteration |
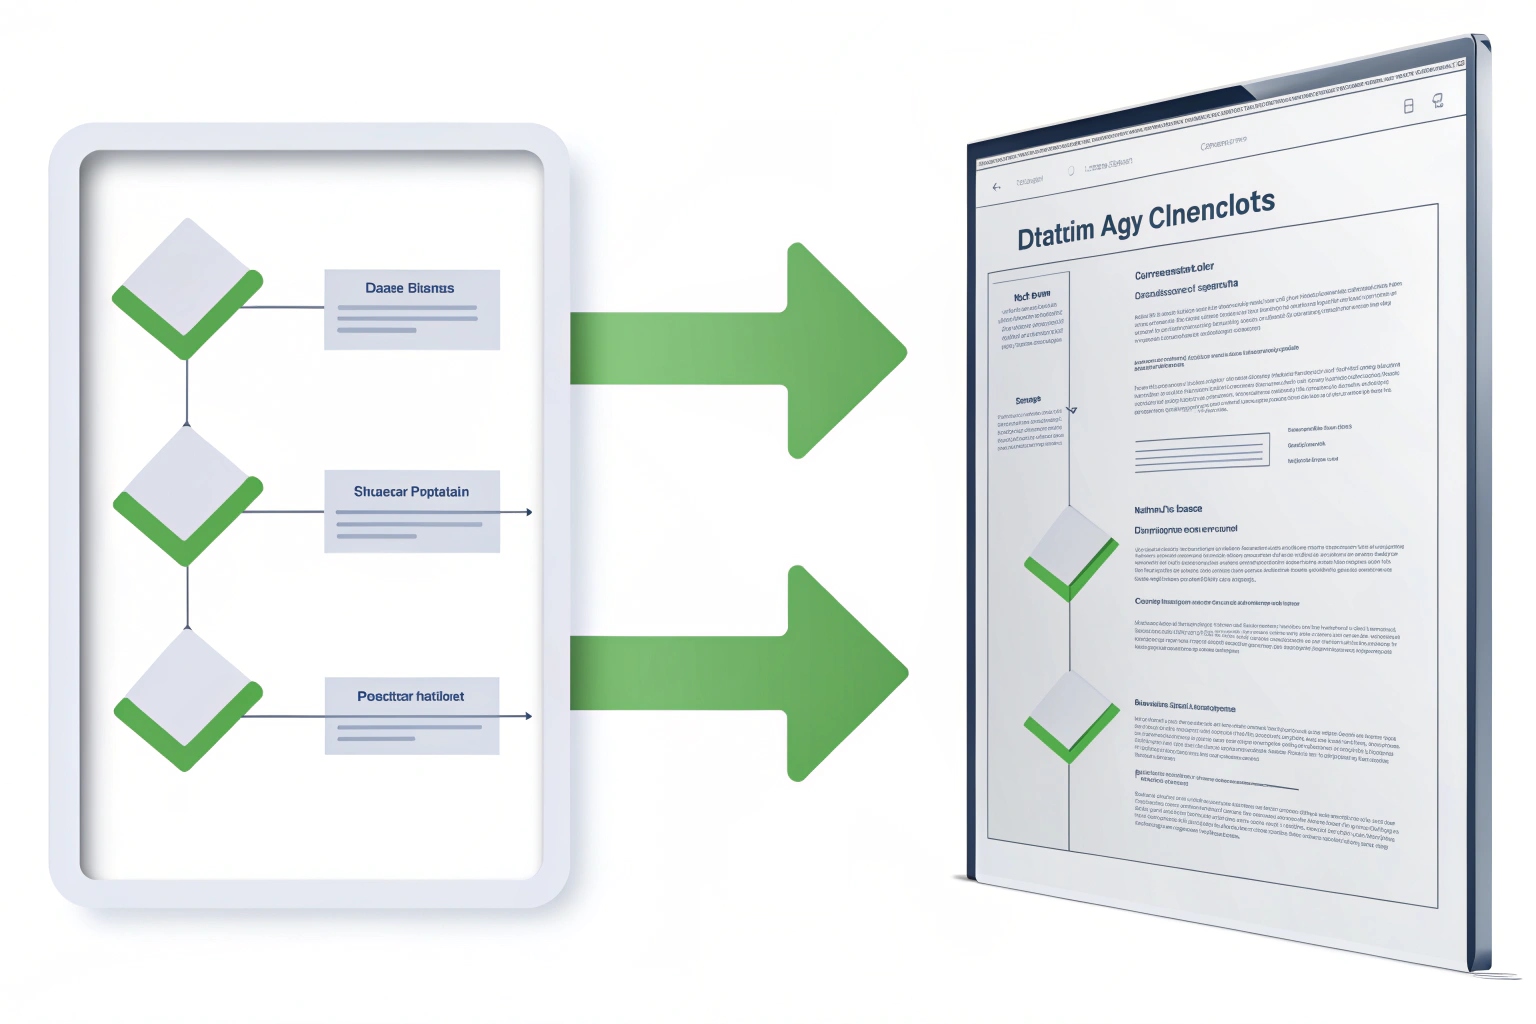
| Process Flow | Flowchart | Maps process steps | Include changes |
| Dimensional Results | Inspection Data | Measure to spec | Log deviations |
Having a report template matching your PPAP checklist secures product performance continuity and prioritizes safety, quality, and efficiency across operations.
Do you keep records for at least 5 years in case I audit later for my undercarriage parts for excavators & bulldozer?
Maintaining extensive records is crucial for audits and compliance, especially for projects that involve long-term collaborations. I often check if suppliers can uphold a solid record-keeping policy 10.
Yes, records for all transactions, including inspection and certification reports, are kept secure for at least five years. This ensures accountability and readiness in case you need to conduct audits later.
The practice of meticulous record-keeping affirms regulatory compliance. It further safeguards reliability across supply chains, establishing assurance for clients needing historical data for comparisons or verification.
Record Longevity and Importance
Keeping records for five years is not only a priority; it’s fundamental to enforce responsibility and trustworthiness. During audits, actionable items often trace back to these detailed historical data which offer insights into process consistency.
| Document Type | Duration | Access Level | Notes |
|---|---|---|---|
| Inspection Reports | 5 Years | Restricted | Archival maintained |
| Certification Records | 5 Years | High | Secure, verifiable |
| Transaction Logs | 5 Years | Restricted | Complete history |
This endurance in documentation nurtures valuable relationships and drives confidence in mutual operations, allowing customers to verify, validate, or investigate past dealings easily.
Conclusion
Ensuring complete and efficient report handling aligns with compliance and drives trust in supply chain excellence.
Footnotes
1. Overview of undercarriage components and their significance. ↩︎
2. Insights on ordering construction-related parts from China. ↩︎
3. Explore how quality control processes work in manufacturing. ↩︎
4. Details about conducting hardness tests for material properties. ↩︎
5. Understanding the importance of dimensional inspection in quality assurance. ↩︎
6. The significance of tool and gauge calibration in accurate measurements. ↩︎
7. Advantages of having customized quality reports for specific needs. ↩︎
8. What a PPAP checklist entails and its role in product approval. ↩︎
9. Detailed guide on PPAP processes and requirements for manufacturing. ↩︎
10. Record-keeping practices critical for ISO compliance and audits. ↩︎


